


How to Draw a Bunny with Colored Pencils

Rabbit, what a common and charming little animal, everyone should be familiar with it! Cute, well-behaved, docile, often kept as pets by people and especially children. Round body, small tail, long ears and cute three-petaled mouth are the characteristics of the bunny. In this article, our artist will use the most common water-based colored pencils to show a lifelike bunny in front of your eyes. For now, study the examples shown here and follow this easy step-by-step easy bunny drawing tutorial.
Download Free Step-by-Step Guide:
List of Supplies:
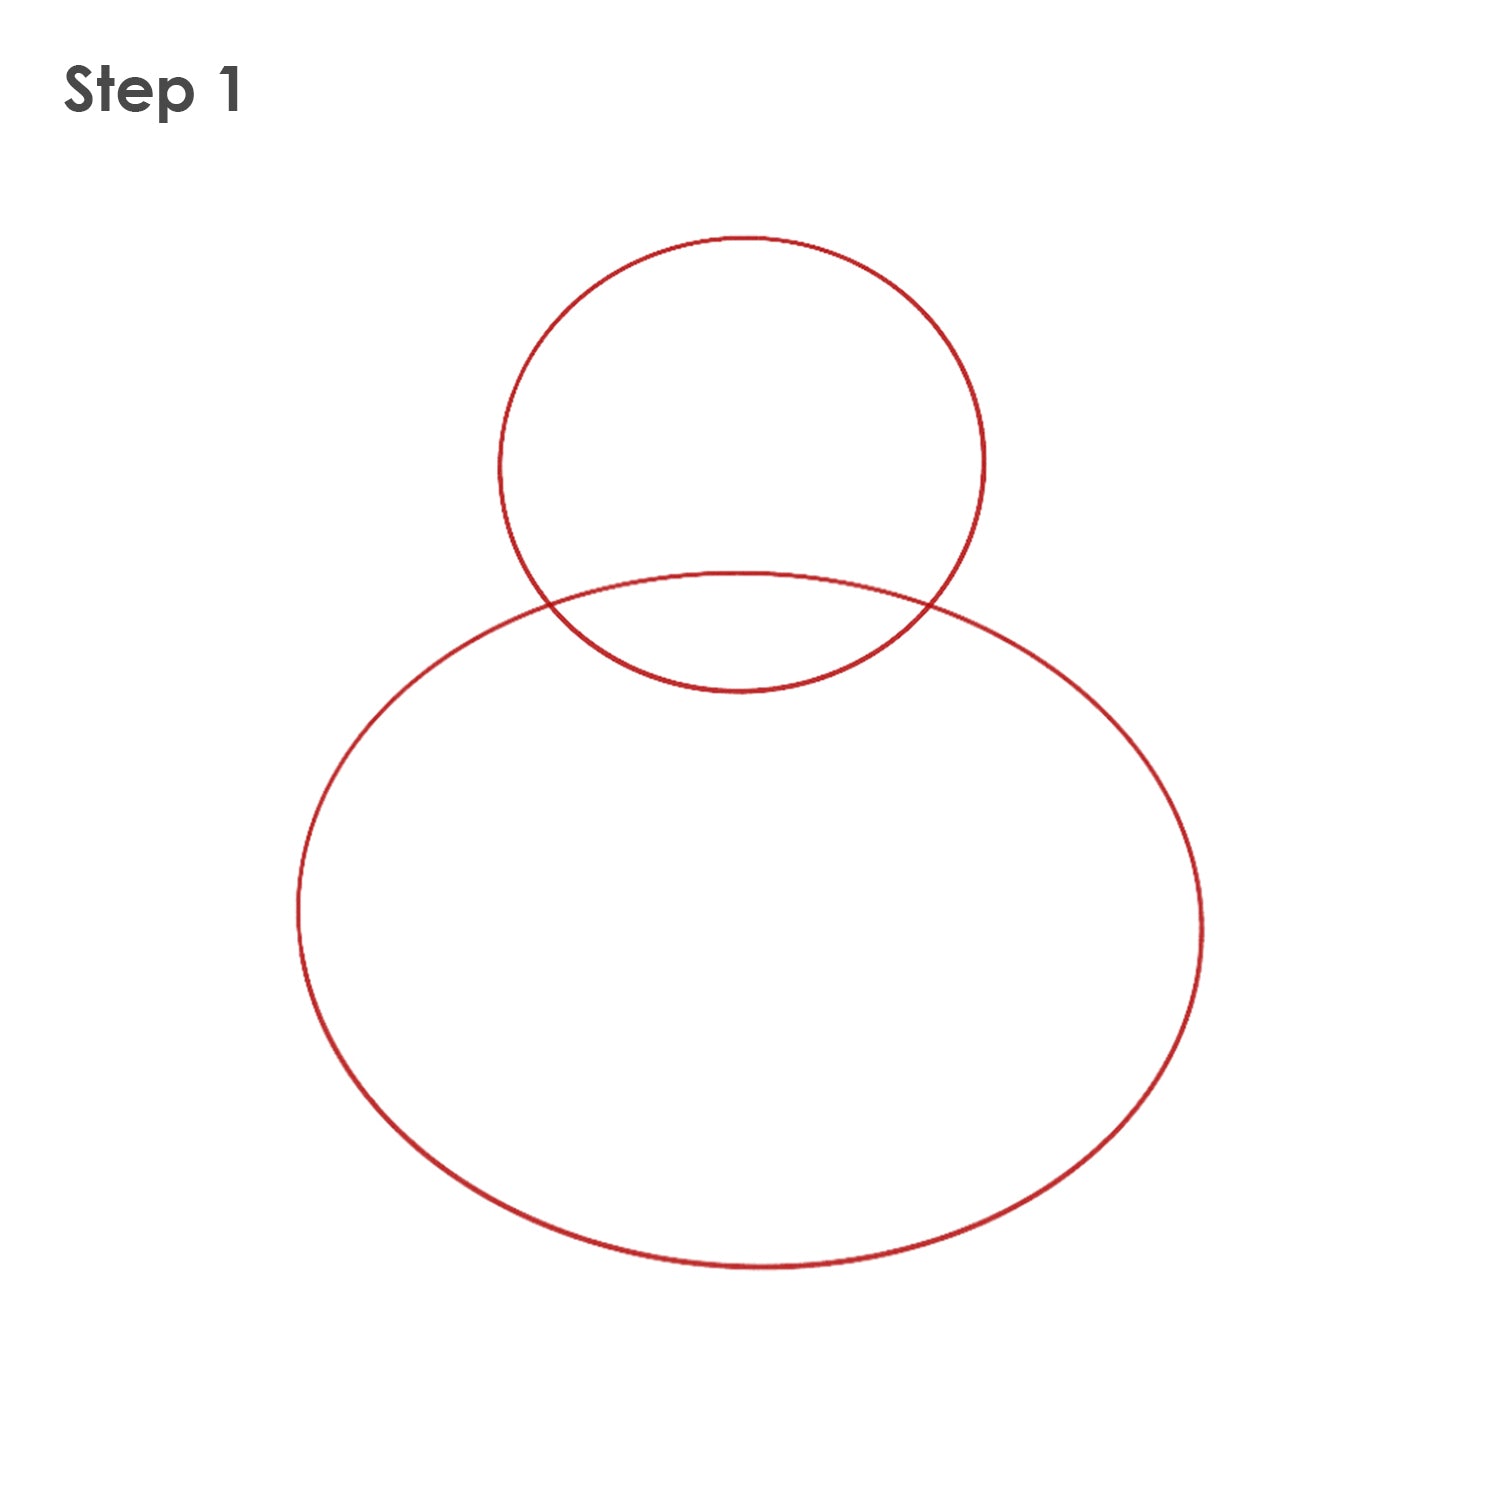
Step 1. Draw two overlapped circles vertically
When drawing a bunny, it’s helpful to draw
them from life and to see the shape of the facial features, feet, and the length between joints as well as the color
variations in the skin. At the begin, we can use colored pencil #089 to draw two overlapped circles vertically,
representing bunny's head and body.

Step 2. Add outlines of ears, facial features and feet
Another trick for drawing cuteness is to
make every part of the rabbit as round as possible. The bunny in the example is shaped like a big pear, use a black
pencil to outline the shape of the bunny with 4 paws. Draw 2 vertical oval shapes for rabbits' eyes, and a ‘u’ shape
nose.

Step 3. Erase interial and prep lines and finish sketch of the bunny
In this step, grab an eraser
to eliminate the redundant dotted lines firstly, keep the outline of the bunny. After that, we can add two short lines
each on the four paws. Also, one longer line each for the pair of ears.

Step 4. Draw the hair flu in the shadow areas
Now draw the shadows surrounding the ears and
eyes, also go over the outer edge of the body, then smooth and contour the shades. It is hard to grasp the thickness
of shadows and needs to watch more bunnies. This is the last step for sketching a cute bunny before coloring it. You
need to draw some lines to convert the shaded parts into bunny hair, create a fluffy and smooth hair flu, and create a
more three-dimensional and cute bunny. The key point to note in this step is that the direction of all the hairs
changes with the posture of the rabbit. The lengths of hair should not be the same, but not be too different. The hair
around the eyes and the face of the rabbit needs to be more and deeper. You will choose a silver colored pencil (#017)
to add some silver hairs interspersed between the black ones and to the white areas of the body to create some layers
of hair.

Step 5. Start shading our drawing with pinky color
Now we have got a lovely rabbit sketch,
and it is time to add some colors! You can choose a skin pink colored pencil (#116) mixed with (#110) to fill the
middle of the ears, nose, mouth, and four paws, bringing them to a point. Then, a pale bunny is instantly
alive!

Step 6. Add more colors and details for the bunny
After that, let’s grab a pale
yellow colored pencil (#081) to draw a few corners of the bunny including the upper side of the nose, as if you have
watched bunnies, they usually got some dirty hairs around these areas. By the way, try to add a reflection of the
bunny by a deeper pink color (#085), which is more lively than black shade. Finally, grab the darkest graphite
pencil to create the brightest eyes for the bunny and remember to leave an oval blank, then, we finish!
Hope you enjoy this cute bunny drawing tutorial! We’d love to hear from you, so please leave a comment in the section below. Are you feeling inspired and want to create more art? Shop suggested set below for your creation.


